
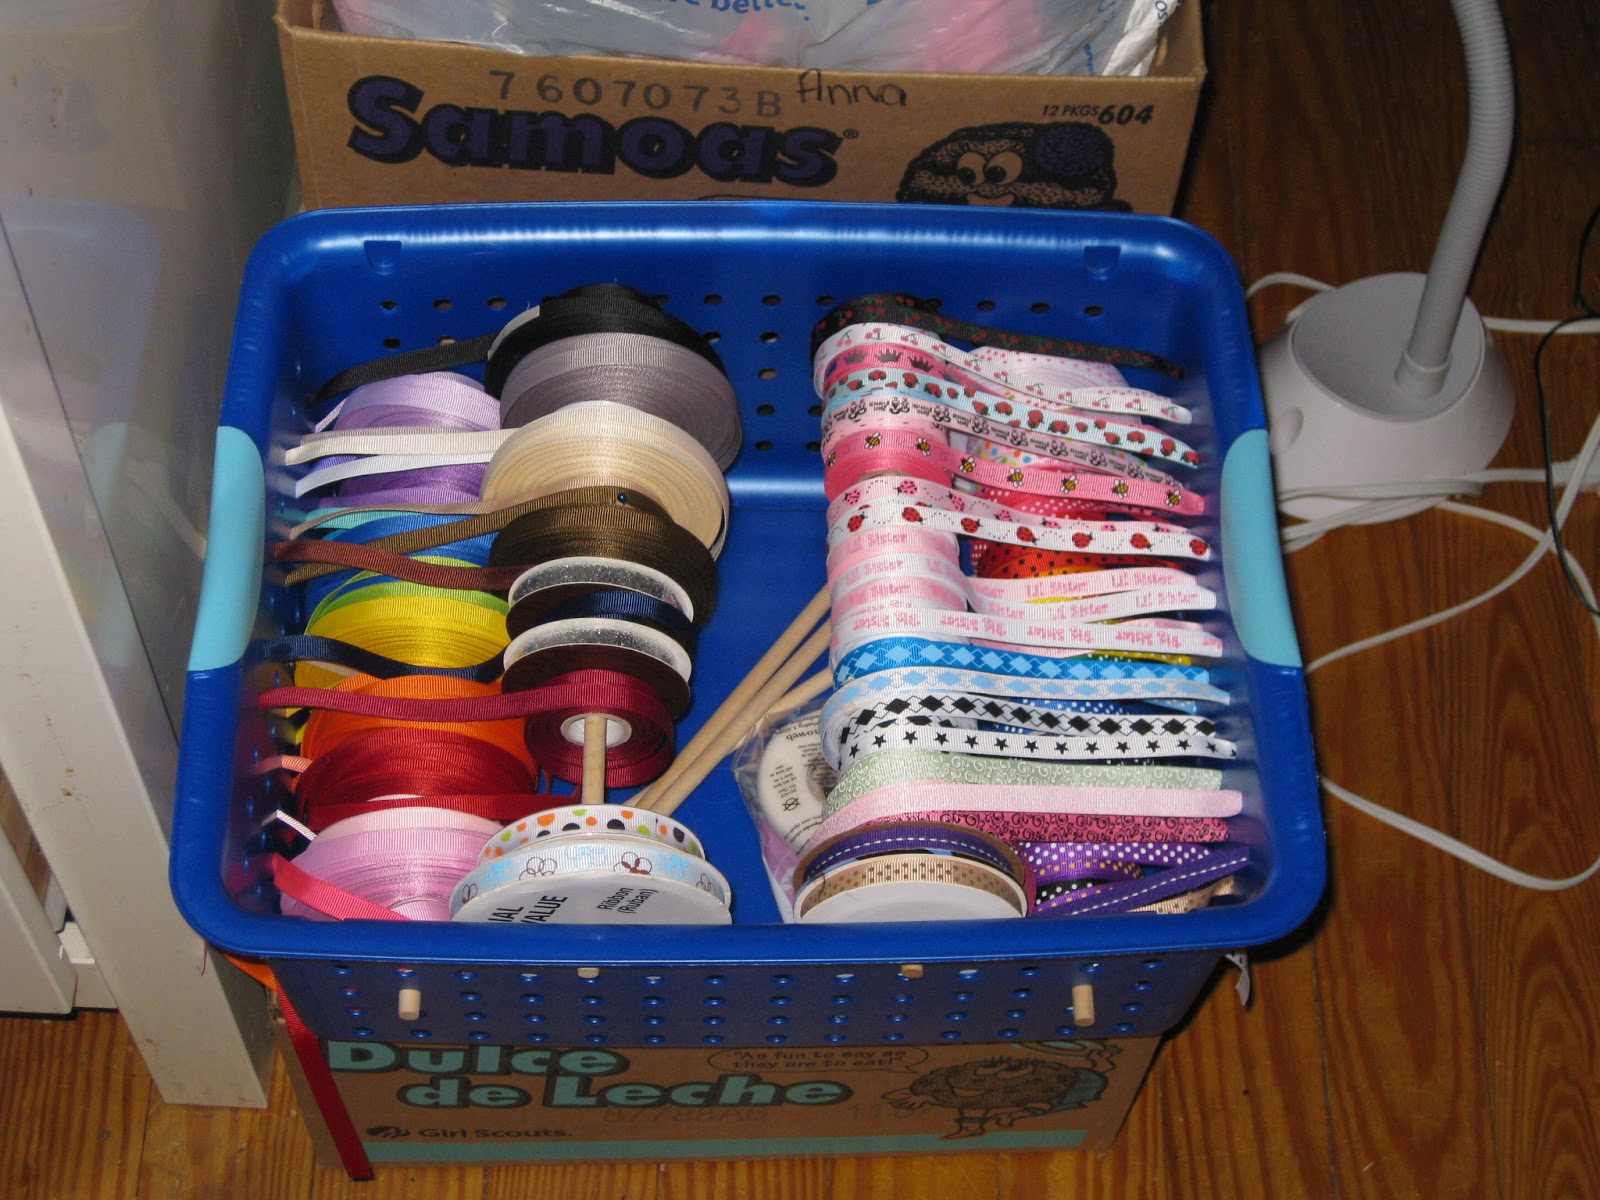
Girl Scout Cookie Boxes and Dowels

Plastic mesh basket and wooden dowels (ahem - the same dowels as above)
Best Craft Spooler and Ribbon Organizer

They all ended in a mess of tangled ribbon and laziness. Over the last 2 days, I finally created something that I hope will be a timesaver and won't leave me frustrated! I made with my own hands, a ribbon rack!
It seems like such a little thing but it took 2 years to figure out exactly what I needed and how to do it. The idea is simple - build a wooden frame, brace it and hang dowels. The tough part is how do I hang dowels? There's a couple ideas -
1) drill holes, stick the dowel thru and cap the ends so that it can't come out - easier said than done since I've split several dowels trying to get the 2-way screws in them (okay, this crafter figured it out - use pre-threaded bar!)
2) using a routing tool, make a path for the dowel to come in like this one.
3) use some sort of hardware to hold the dowels on the sides - the most common one I see suggested on DIY blogs is screw in brass hooks
4) last ditch - buy one but these are pricey and don't usually hold a lot of rolls of ribbon
 Yesterday, I had the best idea ever - I'd use the Closetmaid wall brackets that we had leftover from when we put shelves in our old pantry to hold the dowels! But we only had 4, not a single screw that would hold them and those suckers are a lot more expensive than I remember! I thought - well, I'll use the ones I have and then try the hooks from my picture hanging kit that I never use.
 I went to the wood area of my local home improvement store to purchase 4 48" long pieces of wood (1"x4" for the top and bottom and 0.5"x4" for the sides, 0.5"x1.5" to brace the back and 1"x1.5" to hold the hardware). I used a hand saw to cut the wood into 24" pieces, glued and used a brad nailer to make the frame, added the supports in the back and decided where my dowels would go (I decided that they needed to be 10 cm apart - I realize that I go back and forth between metric and emperial, if I can do it, the rest of the US can too).
VOILA!! I have a frame! I started to add hardware to hold the dowels and realized that I had out-thought myself - the ClosetMaid wall brackets are too wide to fit in the space I had left - oops!

 Well, I still had the brass hooks and I found these pipe clamps (Hillman 5/8" rubber lined clamps) in the hardware section of the home improvement store but I'd only bought one pair.
A trip back to the hardware store (because no project can be completed with only one trip to the hardware store) to buy more clamps and some self drilling, attached washer screws to hold the clamps (not clamped) onto the brace. I cut the dowels to right size and sorted the ribbon on to the dowels.

YAY! It's so much easier already but I have a whole box of ribbon that isn't spooled... I may also need to build a second one... All in all, it cost me about $40 (same price as a much smaller version I've seen at craft stores) and I have lots of screws left over!
Now, to make some actual product for 2 upcoming craft fairs this weekend...
No comments:
Post a Comment